In today’s retail environment, lighting plays a critical role in creating a welcoming atmosphere and enhancing the shopping experience. The right shop LED light not only highlights products effectively but also helps reduce energy costs and improve the overall ambiance of your shop. Whether you are upgrading an existing lighting system or starting from scratch, this guide will walk you through the process of installing shop LED lights.
For high-quality and durable lighting solutions, visit OlamLED —your trusted partner in industrial and commercial LED lighting.
Why Choose Shop LED Lights?
LED lights are a popular choice for commercial lighting due to their numerous benefits. Here’s why you should consider switching to LED lighting for your shop:
Energy Efficiency
LED lights are known for their energy efficiency. They use significantly less energy than traditional incandescent or fluorescent bulbs, leading to lower electricity bills. In fact, LED lights can reduce energy consumption by up to 80%, making them an ideal choice for large spaces with high lighting needs.
Longevity and Durability
LEDs are built to last. They have a longer lifespan than other types of bulbs, which means fewer replacements and reduced maintenance costs. LED lights can last up to 50,000 hours, making them perfect for shops that are open for extended hours or require constant illumination.
High-Quality Light
LED lights provide bright, clear, and consistent lighting. Unlike traditional bulbs that can flicker or burn out quickly, LEDs offer high-quality light that enhances the visibility of your products and creates a pleasant shopping environment. Additionally, LEDs are available in a wide range of color temperatures, allowing you to customize the lighting to suit your shop’s ambiance.
Environmentally Friendly
LED lights are free from harmful chemicals like mercury, which are present in fluorescent bulbs. Additionally, they are fully recyclable, making them an eco-friendly option for businesses looking to reduce their environmental impact.
Steps to Install Shop LED Lights
Installing shop LED lights can be a straightforward process if done correctly. Here’s a step-by-step guide to ensure you get the best results.
1. Plan Your Lighting Layout
Before you begin the installation process, it’s essential to plan where your shop LED lights will be placed. A well-designed lighting layout can dramatically improve the aesthetics and functionality of your shop. Consider the following:
- Product Displays: Identify areas where products need to be highlighted. This might include shelves, counters, or special display cases.
- Aisles: Make sure that aisles are evenly lit to provide a clear path for customers.
- Task Areas: Some areas of your shop may require focused lighting for tasks like reading labels or checking out.
- General Illumination: Ensure that you have adequate lighting in the general space to make the store feel bright and welcoming.
Draw a rough layout of your shop and mark areas where light is needed. This will help you determine the number and type of lights you’ll need.
2. Choose the Right Type of LED Lights
Different areas of your shop will require different types of LED lights. Here are some of the most common types used in retail environments:
Track Lights
Track lights are highly versatile and adjustable fixtures that allow precise control over the direction of light. This makes them ideal for areas where specific products or displays need to be highlighted. Track lighting consists of multiple individual fixtures mounted on a continuous track, allowing you to easily reposition or angle the lights as needed.
Panel Lights
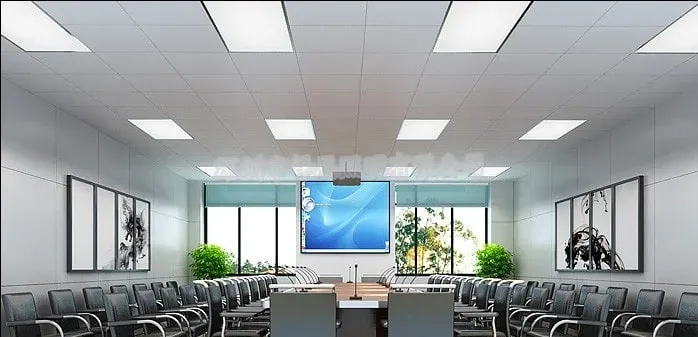
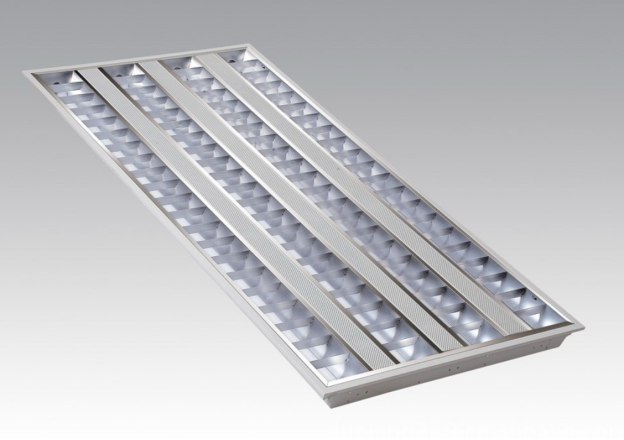
Panel lights are sleek, flat LED fixtures that provide broad, even illumination, making them a top choice for large, open spaces in your shop. Typically mounted on ceilings, these lights produce a soft, uniform light that spreads evenly across the area, eliminating shadows and creating a comfortable shopping environment.
Linear Lights
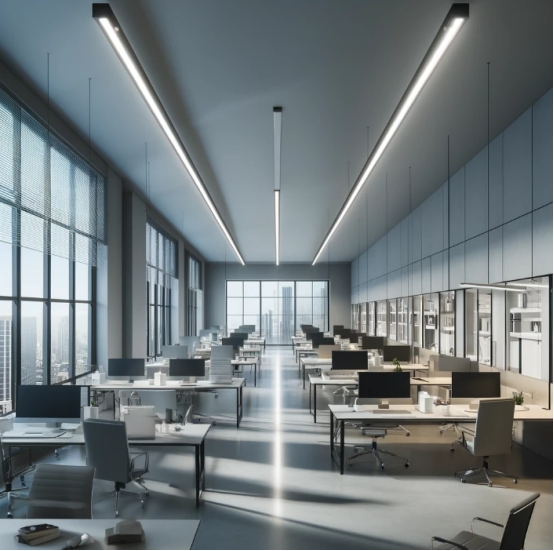
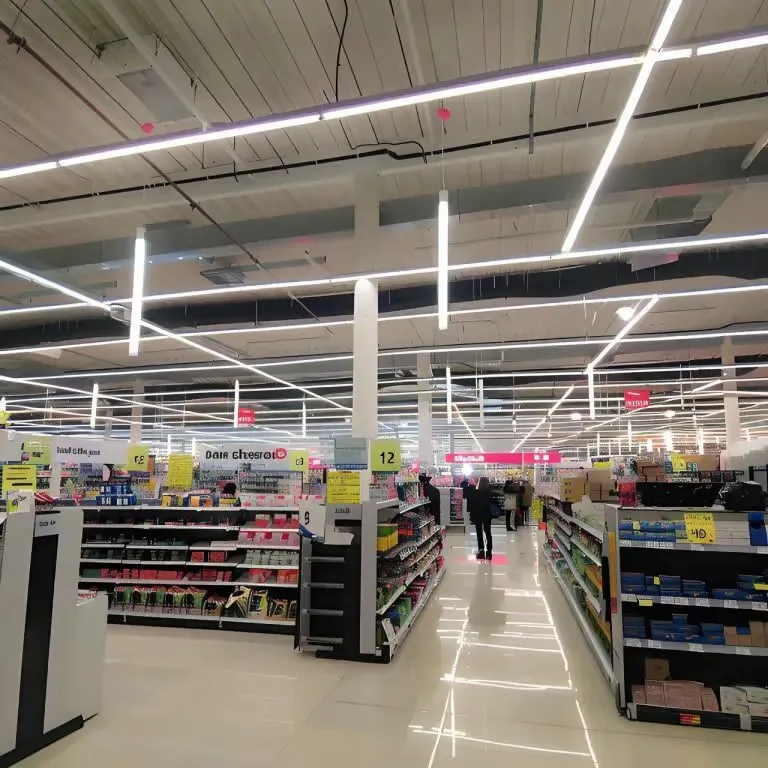
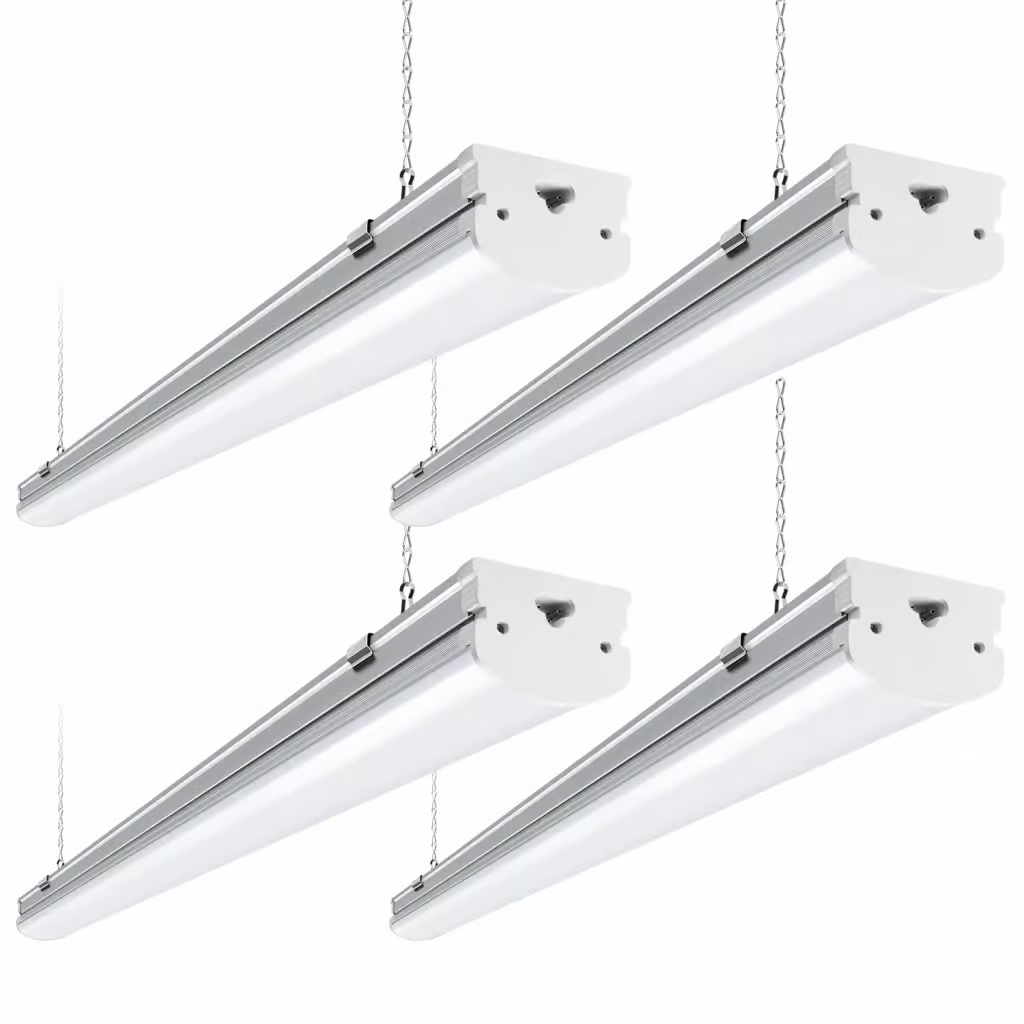
Linear lights are long, narrow LED fixtures that offer uniform lighting, which makes them ideal for spaces like aisles, shelves, and counters where task lighting is important. The linear form factor makes these lights excellent for illuminating long, narrow spaces or for providing continuous, uniform light in specific areas.
High Bay Lights
High bay lights are designed specifically for spaces with high ceilings, providing powerful illumination for expansive areas such as warehouses, large stores, or industrial facilities. These lights are ideal for environments where high ceilings require intense lighting to cover a large space effectively.
3. Calculate the Number of Lights You Need
Once you’ve decided on the type of LED lights to use, the next step is to calculate how many you’ll need. This will depend on the size of your shop, the layout, and the level of brightness you require.
The most common method for calculating the number of lights is to use the lumens per square foot rule. Lumens measure the amount of light produced by a bulb. For general retail lighting, aim for about 30-50 lumens per square foot. If you are focusing on specific areas like product displays, you may want to increase the lumen count for those sections.
To calculate how many lights you’ll need:
- Measure the square footage of your shop.
- Multiply the square footage by the desired lumens per square foot.
- Divide the total lumens by the lumen output of each LED light.
This will give you a rough estimate of how many lights you’ll need to achieve the desired level of brightness.
4. Choose the Correct Color Temperature
The color temperature of your shop LED lights determines the warmth or coolness of the light they emit. It’s important to choose the right color temperature to create the desired ambiance in your shop. Here are the general guidelines for selecting color temperatures:
- Warm White (2700K-3000K): Ideal for creating a cozy, inviting atmosphere in spaces like clothing stores, cafes, or jewelry shops.
- Cool White (4000K-5000K): Best for areas where brightness and clarity are needed, such as supermarkets, convenience stores, and showrooms.
- Daylight (5000K-6500K): Provides bright, crisp light that mimics natural daylight. It’s great for areas where high visibility is important, such as in high-bay areas or larger retail spaces.
Types of Shop LED Lights
When selecting the best shop LED lighting solution, it’s crucial to consider the type of lighting that best suits your space and operational needs. Below are four common types of LED lights used in shops, each offering unique benefits depending on the environment.
1. Track Lights
Track lights are highly versatile and adjustable fixtures that allow precise control over the direction of light. This makes them ideal for areas where specific products or displays need to be highlighted. Track lighting consists of multiple individual fixtures mounted on a continuous track, allowing you to easily reposition or angle the lights as needed.
Benefits of Track Lights:
- Adjustability: Track lights can be aimed to focus on different areas of your shop, such as high-demand products or special promotions.
- Flexibility: As your shop’s layout changes, you can easily reconfigure the track to accommodate new displays or areas that need more light.
- Energy Efficient: LED track lights offer the same energy-saving benefits as other LED fixtures, ensuring reduced energy costs over time.
Track lights are a perfect choice for retail spaces, galleries, or showrooms where you want to create a spotlight effect or provide additional emphasis on specific areas or merchandise. Their flexibility makes them an excellent choice for shops with changing layouts or displays.
2. Panel Lights
Panel lights are sleek, flat LED fixtures that provide broad, even illumination, making them a top choice for large, open spaces in your shop. Typically mounted on ceilings, these lights produce a soft, uniform light that spreads evenly across the area, eliminating shadows and creating a comfortable shopping environment.
Benefits of Panel Lights:
- Even Illumination: Panel lights excel at providing consistent, diffused lighting, reducing harsh shadows and creating a welcoming atmosphere for customers.
- Space Efficiency: Because of their slim design, panel lights are ideal for areas with low ceilings, helping to maximize ceiling height and provide unobtrusive illumination.
- Aesthetic Appeal: The flat, minimalist design of panel lights complements modern and contemporary shop interiors, enhancing the overall design of your space.
These lights are especially beneficial for larger retail stores, supermarkets, and areas that require widespread lighting, such as aisles or large open sales floors. They are a staple in any shop looking to provide general ambient lighting while keeping the space bright and inviting.
3. Linear Lights
Linear lights are long, narrow LED fixtures that offer uniform lighting, which makes them ideal for spaces like aisles, shelves, and counters where task lighting is important. The linear form factor makes these lights excellent for illuminating long, narrow spaces or for providing continuous, uniform light in specific areas.
Benefits of Linear Lights:
- Uniform Lighting: Linear lights provide consistent illumination over long distances, ensuring that no area is left in the dark. This is particularly beneficial for narrow spaces or shelves that require focused light.
- Minimalistic Design: With their elongated shape, linear lights integrate well into modern shop designs, offering a clean and streamlined look.
- Versatility: Whether used for task lighting or accent lighting, linear lights can serve a wide range of functions depending on their installation and placement.
Linear lights are commonly used in grocery stores, convenience stores, and retail environments where even light distribution across long surfaces is critical. Their ability to fit seamlessly into the architecture makes them a popular option for illuminating aisles, counters, and shelving units.
4. High Bay Lights
High bay lights are designed specifically for spaces with high ceilings, providing powerful illumination for expansive areas such as warehouses, large stores, or industrial facilities. These lights are ideal for environments where high ceilings require intense lighting to cover a large space effectively.
Benefits of High Bay Lights:
- Powerful Illumination: High bay LED lights offer high lumen output, ensuring that large spaces are well-lit, even in high-ceiling environments. This type of lighting is perfect for large retail areas where good visibility is essential.
- Wide Coverage: High bay lights are designed to cover vast areas, making them ideal for shops with expansive ceilings or open floor plans.
- Energy Savings: While these lights provide significant lighting power, LED versions consume far less energy compared to traditional high-bay fixtures, reducing energy costs.
These lights are most effective in large shops such as warehouse-style stores, factory outlets, or any shop with high ceilings that requires substantial illumination. The focused light from high bay LEDs ensures maximum light penetration without excessive energy use.
Conclusion
Installing shop LED lights not only enhances the overall shopping experience but also contributes to long-term savings in energy and maintenance costs. By following the steps outlined in this guide, you can ensure a smooth installation process and choose the right lighting solutions for your space. Whether you’re opting for track lights, panel lights, linear lights, or high bay lights, the versatility and efficiency of LED lighting can significantly improve your shop’s ambiance and functionality.
For top-notch LED lighting products and solutions, visit OlamLED, where we provide a wide range of high-quality and energy-efficient LED lighting options to meet your shop’s needs.
Remember to carefully consider the layout, type of lighting, and energy needs of your space before making a decision. With the right LED lighting system in place, your shop will be better equipped to create a welcoming environment for your customers while reducing operational costs.
